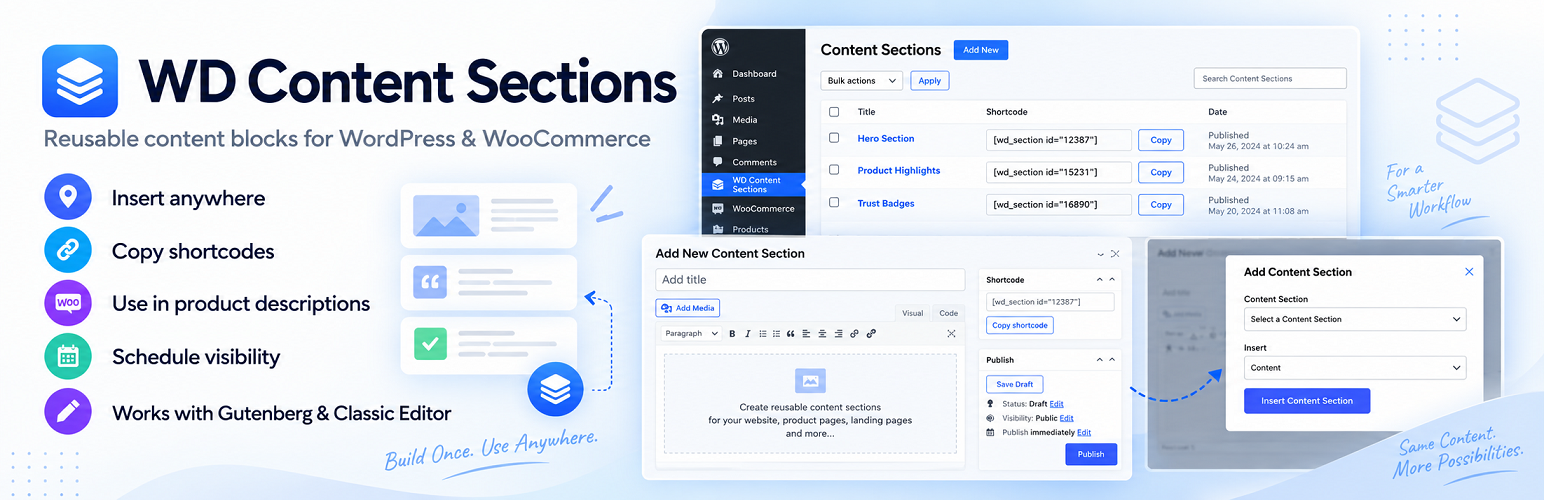
WD Content Sections is a flexible WordPress plugin that lets you create reusable content sections and insert them anywhere on your website.
Instead of maintaining the same text, images, notices, banners, or product information in multiple places, you can create the content once and reuse it throughout your site. When the original Content Section is updated, the changes are automatically reflected everywhere the section is used.
The plugin works with both WordPress and WooCommerce and makes it especially easy to insert reusable content directly into product descriptions and short product descriptions.
Key Features
- Create unlimited reusable Content Sections
- Insert sections anywhere using simple shortcodes
- Quickly copy shortcodes from the Content Sections overview
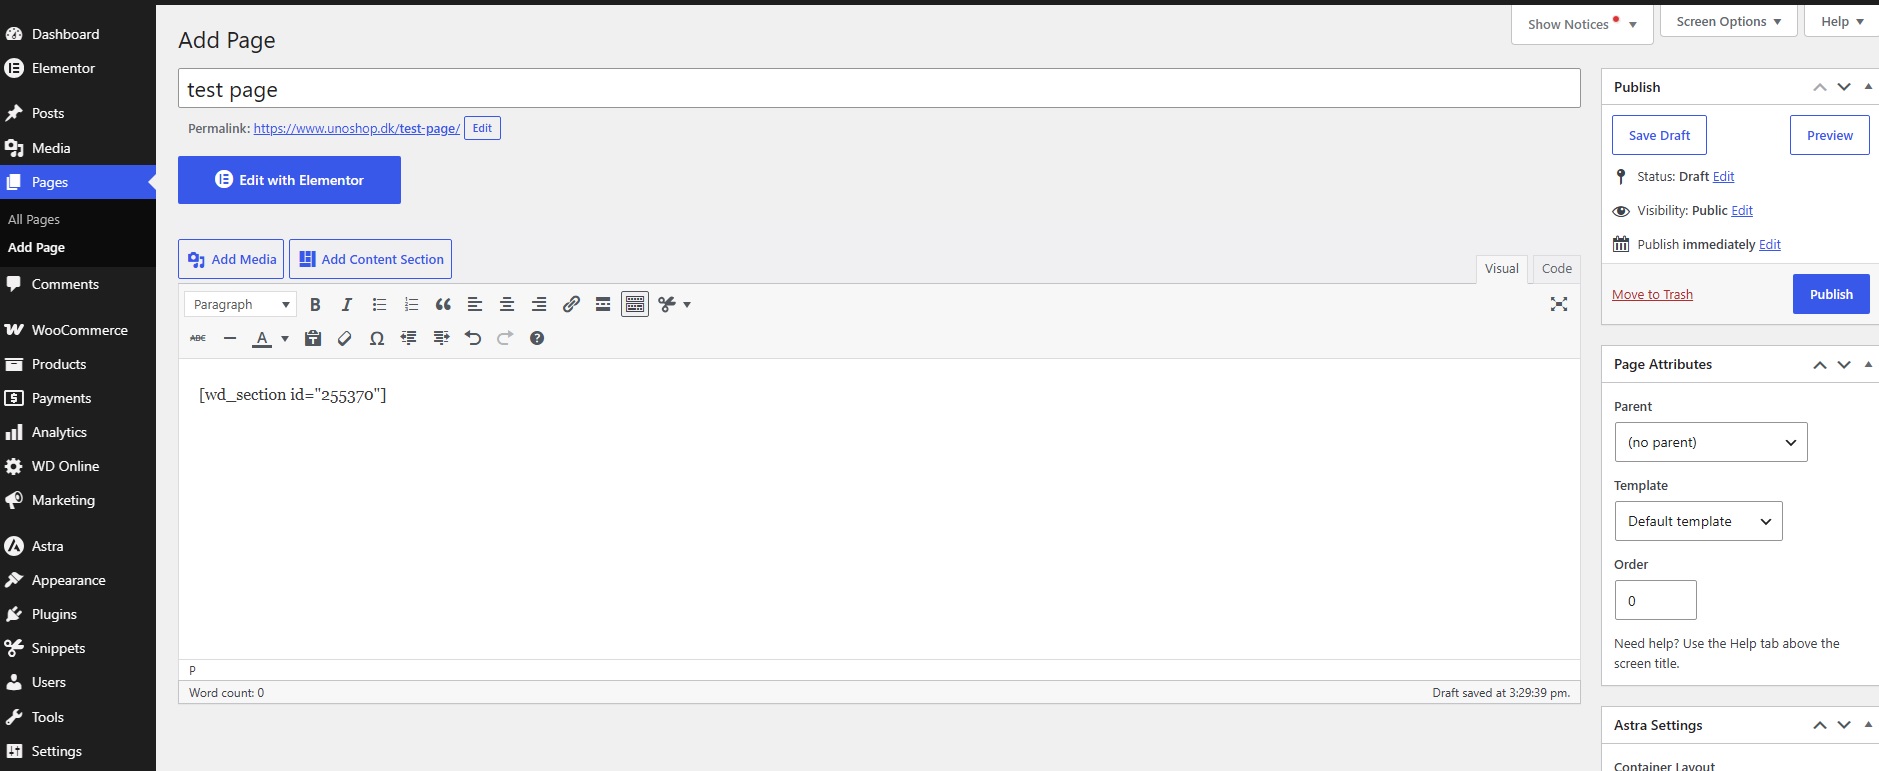
- Insert Content Sections directly from the WordPress editor
- Add sections to WooCommerce product descriptions
- Add sections to WooCommerce short product descriptions
- Gutenberg block with Content Section selection and preview
- Compatible with the Classic Editor
- Supports shortcodes inside Content Sections
- Optional featured image support
- Display only the featured image when needed
- Schedule Content Sections with a start and end date/time
- Automatically hide scheduled content outside the selected period
- Manage all Content Sections from the WD Online menu in WordPress
Available Shortcodes
Display a Content Section:
Display a Content Section including its featured image:
Display only the featured image:
Perfect for Reusable Website Content
WD Content Sections can be used for many different types of content, including product information, shipping notices, promotional messages, trust information, size guides, temporary campaigns, disclaimers, calls to action, and other content that needs to appear in multiple locations.
By keeping shared content in one place, WD Content Sections makes your WordPress site easier to maintain and helps ensure that information remains consistent across pages and products.
WDOnline Content Sections allows you to create reusable content sections in WordPress and use the same content in multiple places across your website.
Instead of copying and maintaining the same text, images, notices, product information, or other content in several locations, you create the content once and reuse it wherever needed.
When you update the original Content Section, the updated content is automatically shown everywhere that section is used.
Getting Started
After installing and activating WDOnline Content Sections, you will find the plugin in the WordPress administration area under:
WD Online → Content Sections
From here you can:
- Create new Content Sections
- Edit existing sections
- Copy section shortcodes
- Add featured images
- Schedule when sections should be visible
- Reuse sections throughout WordPress and WooCommerce
Creating a Content Section
Go to:
WD Online → Content Sections
Click Add New Content Section.
Enter a title for the section.
The title is primarily used in the WordPress administration area, so choose something that makes the section easy to identify later.
Examples:
- Shipping Information
- Product Warranty
- Delivery Information
- Size Guide
- Trust Information
- Summer Promotion
- Contact Information
Add the content you want to reuse using the WordPress editor.
When the section is ready, click Publish.
Your Content Section can now be inserted elsewhere on your website.
Using Shortcodes
Each Content Section has its own shortcode.
The basic shortcode format is:
Replace 123 with the ID of the Content Section you want to display.
For example:
The shortcode can be placed anywhere WordPress shortcodes are supported.
This can include:
- Pages
- Posts
- WooCommerce products
- Widgets
- Theme content areas
- Page builders that support WordPress shortcodes
- Other shortcode-compatible fields
Copying a Shortcode
You do not need to type the shortcode manually.
Go to:
WD Online → Content Sections
The Content Sections overview displays the shortcode belonging to each section.
Use the Copy button to copy it to your clipboard.
You can then paste it into the page, product, post, or other location where the section should appear.
Featured Images
A Content Section can have its own featured image.
To display only the featured image belonging to a Content Section, use:
Replace 123 with the relevant Content Section ID.
This can be useful for reusable:
- Promotional images
- Information graphics
- Product graphics
- Banners
- Campaign images
- Trust graphics
The featured-image shortcode is separate from the normal Content Section shortcode. The plugin registers both shortcode types independently.
Using Content Sections in WooCommerce
WDOnline Content Sections includes support for WooCommerce products.
This is particularly useful when the same information needs to appear on many different product pages.
For example, you might create reusable sections for:
Delivery Information
Create the delivery information once and use it across all relevant products.
Warranty Information
Maintain warranty terms in one Content Section instead of editing every product individually.
Size Guides
Use the same size guide on multiple products.
Trust Information
Reuse information about returns, guarantees, secure payment, customer service, or other benefits.
Product Description
When editing a WooCommerce product, the plugin provides an Add Content Section function for inserting an existing Content Section.
Select the Content Section you want to use and insert it into the product description.
The product will then display the content from the selected Content Section.
Short Product Description
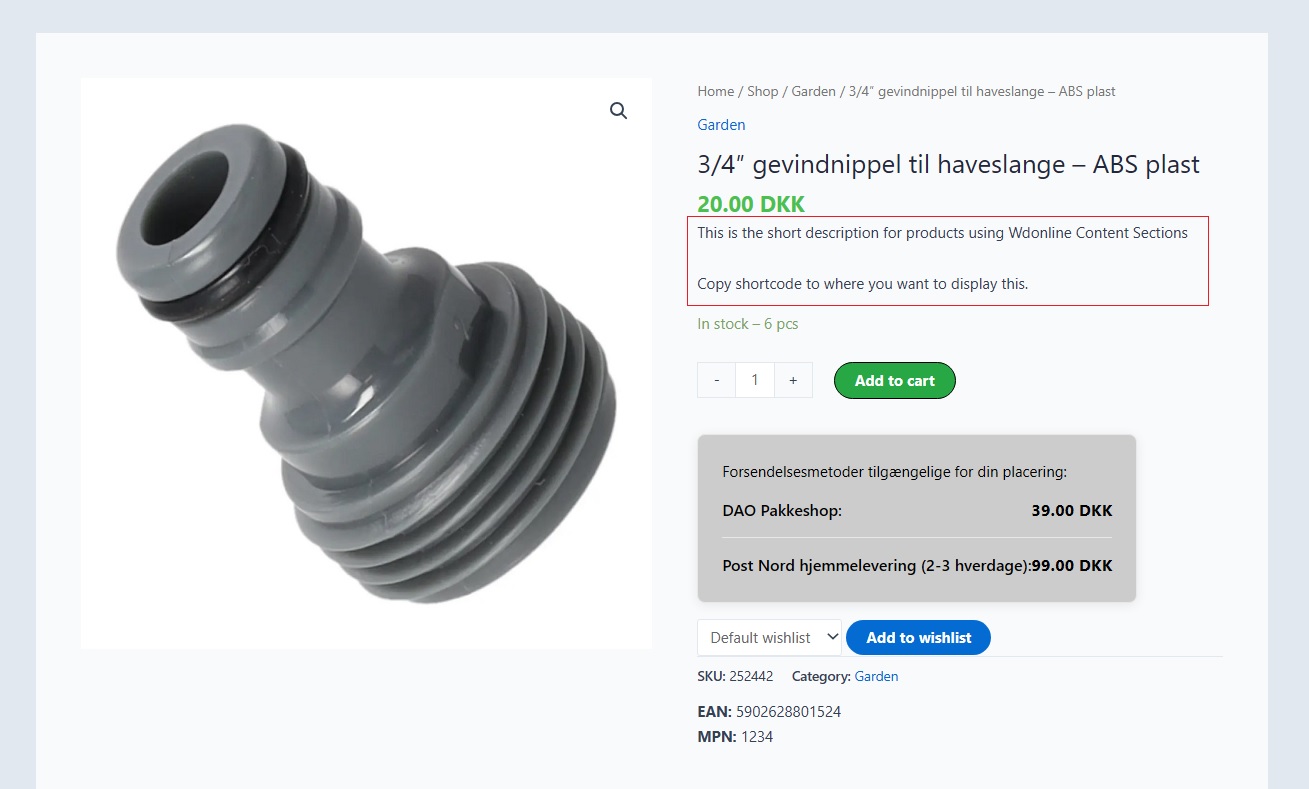
Content Sections can also be inserted into the WooCommerce Short Product Description.
This makes it possible to reuse shorter information near the main product information without manually copying the same content between products.
For example, this can be useful for:
- Delivery messages
- Guarantee information
- Important product notices
- Campaign information
- Short trust messages
Gutenberg
WDOnline Content Sections includes Gutenberg support.
When editing a page or post with the WordPress Block Editor, you can add the Content Section block and select which reusable section you want to display.
The block supports a preview, helping you identify the selected section directly in the editor.
The Gutenberg block uses the same reusable Content Section data as the shortcode functionality. The plugin registers its own dynamic Content Sections block in WordPress.
Classic Editor
The plugin also works with the WordPress Classic Editor.
You can insert a Content Section using its shortcode:
When the page is displayed on the frontend, WordPress replaces the shortcode with the content from the selected Content Section.
Scheduling Content
Content Sections can be scheduled so that they are only displayed during a specific period.
When editing a Content Section, use the Visibility Schedule settings.
You can specify:
Start date/time
The section will not be displayed before this time.
End date/time
The section will stop being displayed after this time.
You may also use only a start date or only an end date when appropriate.
Example: Temporary Promotion
You could create a Content Section called:
Christmas Delivery Notice
Insert it into several pages and products.
Then set:
Start: December 1
End: December 20
The notice will automatically appear when the scheduled period begins and disappear when it ends.
You do not need to manually edit every page or product.
Shortcodes Inside Content Sections
Content Sections can contain WordPress shortcodes themselves.
For example, if another plugin provides a shortcode for a form, product information, button, or other dynamic content, that shortcode can be placed inside a Content Section.
Whether a particular shortcode works depends on the plugin or theme that provides it.
This makes Content Sections useful not only for static text but also for reusable dynamic content.
Editing a Content Section
To update existing content, go to:
WD Online → Content Sections
Open the section you want to edit.
Make your changes and click Update.
You do not need to edit the individual pages or products where the section is used.
All locations that reference the Content Section will automatically use the updated version.
Practical Example
Suppose you have 75 WooCommerce products that all contain the same shipping information.
Without Content Sections, you might need to edit all 75 products if the information changes.
With WDOnline Content Sections:
- Create a Content Section called Shipping Information.
- Add your shipping text.
- Publish the section.
- Insert the section into the relevant products.
- Later, edit only the original Shipping Information section.
All products using the section will immediately display the updated information.
This keeps your website more consistent and significantly reduces repetitive maintenance.
Removing a Content Section from a Page
If you no longer want a Content Section to appear on a particular page or product, remove its shortcode or Content Section block from that location.
This does not delete the original Content Section.
The section remains available for use elsewhere.
Deleting a Content Section
Deleting the original Content Section is different from removing it from one page.
If the original Content Section is permanently deleted, locations that reference that section will no longer have content to display.
Before permanently deleting a Content Section, it is therefore a good idea to make sure it is no longer being used anywhere important.
Common Uses
WDOnline Content Sections can be useful for many different types of reusable content, including:
- Shipping and delivery information
- Product specifications
- Size guides
- Warranty information
- Return information
- Trust messages
- Promotional content
- Seasonal notices
- Calls to action
- Contact information
- Product benefits
- Service information
- Store information
- Frequently repeated text
- Temporary campaign information
Shortcode Reference
Display a Content Section
Displays the content from Content Section ID 123.
Display the Featured Image
Displays the featured image assigned to Content Section ID 123.
These are the current shortcode names used by the plugin.
Tips
Give your Content Sections clear and descriptive names. A name such as Delivery Information – Denmark will be much easier to identify later than something generic such as Text 1.
Use Content Sections for information that appears in more than one location. If content will only ever appear on one page, creating a reusable section may not be necessary.
For temporary content, use the scheduling feature instead of manually remembering to remove the content later.
Plugin screenshots



Do you have suggestions for improvements to this plugin?
Plugin screenshots
Support WD Online
Our plugins are free. If you find them useful, you can support continued development. You decide the amount yourself and we see any amount as recognition that our plugin helps others.